This page may contain affiliate links.
Read our disclosure and privacy policy here.
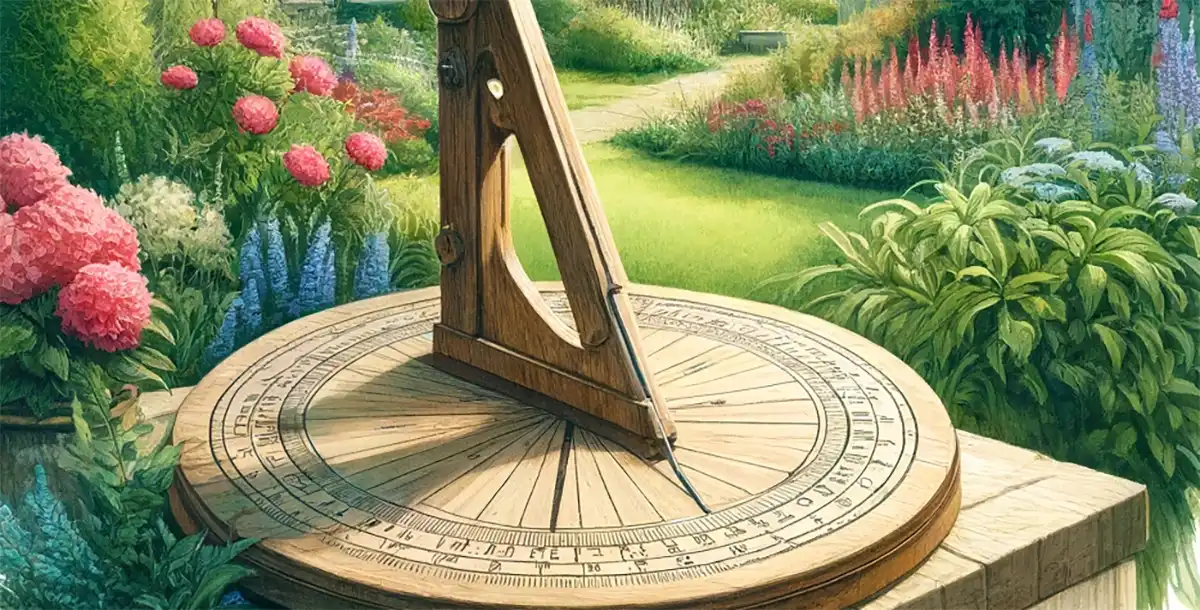
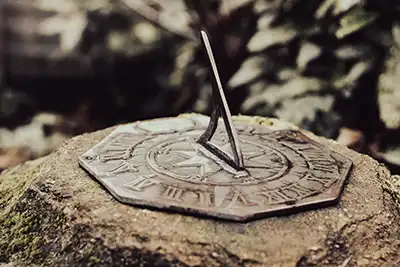
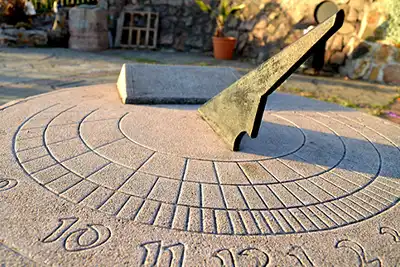
Ready to make your own sundial, a cool clock that uses the sun to tell time? It’s like a mini adventure in your backyard! You’ll get to play detective with shadows and become a time-traveler to ancient days when sundials were the latest tech. Don’t worry, it’s easy and fun! We’ll show you how to find the perfect spot, set it up, and read it like a pro. By the end, you’ll have not just a neat gadget for your garden but also the bragging rights to say, “I made that!” Let’s dive in and start our sundial project!
Table of Contents
DIY: How To Make A Sundial
List of Materials & Tools
Materials Required
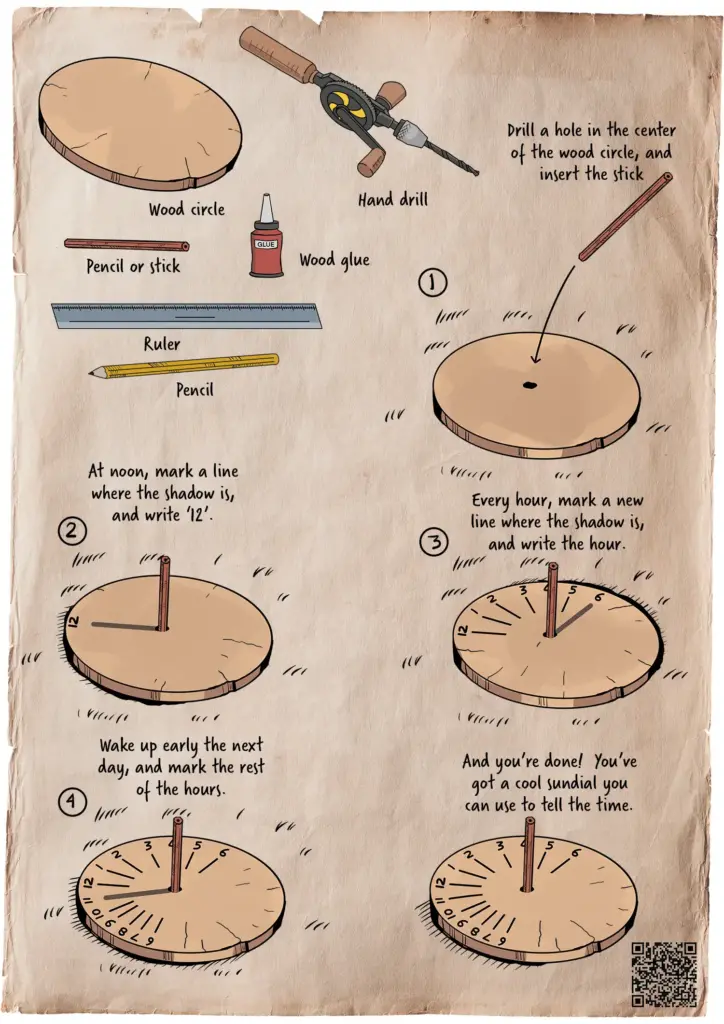
- Wood circle cut from a wood plank (8 to 12 inches in diameter)
- Ruler
- Pencil
- Short stick (5 to 10mm in diameter)
Tools and Supplies
- Hand drill
- Wood glue

How to build a sundial – steps to build a simple DIY sundial
Step 1: Prepare Your Wood Circle
Begin by cutting a wood circle from a flat wood plank. Aim for a diameter between 8 to 12 inches. This will serve as the base of your sundial.
Step 2: Drill the Center Hole
Using your hand drill, create a hole in the very center of your wood circle. The hole should match the diameter of your short stick (between 5mm and 10mm). This ensures a snug fit for the stick, which will act as the gnomon (the part of the sundial that casts the shadow).
Step 3: Secure the Stick with Wood Glue
Apply some wood glue to the end of your short stick or directly into the hole. Insert the stick into the hole, ensuring it stands straight up. Allow the glue to dry completely to stabilize the gnomon.
Step 4: Initial Sundial Setup
On a sunny day, take your sundial base and place it outdoors on level ground. Choose a location where it can remain undisturbed for a few days. The orientation of your sundial at this step is crucial for accurate time-telling.
Step 5: Mark the Hours
Starting in the morning, check the sundial on the hour, every hour. Use the ruler and pencil to mark where the stick’s shadow falls on the wood circle. Write the corresponding hour next to each shadow line, directly on the edge of the circle. Continue this process throughout the day, capturing each hour’s shadow.
Step 6: Complete the Hourly Marks
Repeat the hourly marking process throughout the day until sunset. This step ensures that you capture a complete set of time markers on your sundial.
Step 7: Early Morning Markings
The following day, wake up at sunrise to mark any remaining early morning hours. This ensures your sundial has a full set of hour marks from sunrise to sunset.
Using Your Sundial
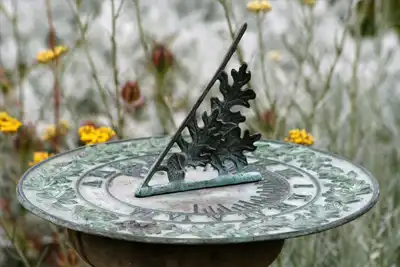
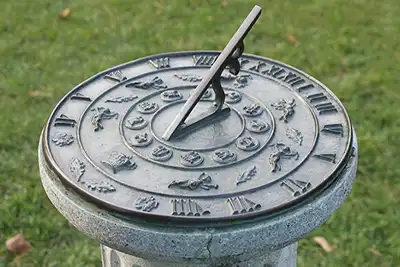
Some Inspiration!
Engaging Discussion Topics for Building Sundial with Your Kids
Building a sundial isn’t just about crafting something cool; it’s a great chance for kids and parents to dive into some interesting discussions about science, nature, and engineering. Here are five topics you can talk about while working on your sundial project together.
Choosing the Right Materials
What materials do you think will last the longest outside? How do different materials react to weather changes like rain, sun, or snow?
Discussion: Start by discussing the properties of various materials like wood’s natural look but potential to rot, metal’s durability but susceptibility to rust, and stone’s longevity but heaviness. Ask your child to think about which material they would choose for their sundial and why. You can extend this discussion by considering how to protect materials from weather damage, such as using waterproof paint on wood.
The Shifting Shadows
Have you noticed that the shadows don’t always match the marks we made? Why do you think that happens?
Discussion: Explain the Earth’s axial tilt (about 23.5 degrees) and its orbit around the sun, leading to varying shadow lengths and directions throughout the year. Use a globe and a flashlight to demonstrate how the Earth’s tilt affects the sunlight angle at different times of the year. Ask your child why they think the shadows change and how this impacts the way we measure time with sundials. This can segue into a discussion about the solstices and equinoxes.
Building a Sundial for All Seasons
If we wanted our sundial to be accurate all year, where on Earth would it work best? What adjustments would we need to make for it to work in our backyard?
Discussion: Dive into geography with your child. Explain that the equator experiences the least variation in shadow throughout the year, making it an ideal place for a simple sundial. However, the farther from the equator, the more the sun’s path varies with the seasons. Discuss how sundials can be adjusted for different latitudes by changing the angle of the gnomon (the stick or object that casts the shadow). This could involve looking at maps and finding your latitude to understand how your sundial’s design needs to be adjusted for accuracy.
The Science of Timekeeping
How did people tell time before clocks and watches? Why do you think sundials were important?
Discussion: Take a journey through history, explaining how ancient civilizations like the Egyptians and Romans used sundials. Discuss the importance of measuring time for agriculture, religious ceremonies, and daily life. Highlight how innovations in timekeeping technology have shaped societies, leading to mechanical clocks and eventually the precise atomic clocks we use today. Encourage your child to think about how different life would be if we couldn’t measure time accurately.
Sundial Design and Creativity
If you could design any sundial, what would it look like? What materials would you use?
Discussion: Encourage your child to get creative with their sundial design. Discuss how the sundial’s appearance could change with different materials, colors, or added decorative elements. Talk about how the design of the sundial could reflect personal interests, such as incorporating animal shapes, favorite colors, or themes from nature. You can also discuss how the design might be influenced by the sundial’s intended location, such as a garden, patio, or as an indoor decorative piece.

There’s a lot to explore right where we are, in our own neighborhoods and backyards! Join us while we get off the couch and explore the everyday wonders of nature, science, space, engineering, art, and anything else we stumble upon during on our adventures.
